The intake valve is the primary gatekeeper of your industrial air system. When it sticks, your compressor either starves of air or runs at full load indefinitely, potentially costing your facility up to $8,700 annually in wasted electricity and emergency downtime. To fix a stuck intake valve, you must depressurize the system, remove the assembly, clean carbon and varnish buildup with non-abrasive solvent, and replace the internal seals and return spring.
Welcome to Episode 5 of the FOCUS Series. In this technical authority guide, we move beyond basic troubleshooting to address the mechanical failure of the unloader valve: a critical component that dictates whether your machine is generating value or burning cash.
10 Common Industrial Buyer Headaches with Intake Valves
- Compressor runs but produces zero air pressure.
- Safety valve popping because the unit refuses to unload.
- High motor current during startup due to the valve failing to close.
- Rapid cycling between load and unload (short-cycling).
- Excessive oil carryover caused by intake turbulence.
- Increased energy bills despite no change in production volume.
- Strange “hissing” or “clunking” sounds during load transitions.
- Failed solenoid valves leading to diagnostic confusion.
- Sticky varnish buildup from low-quality lubricants.
- Difficulty sourcing the correct repair kits for legacy hardware.
The Role of the Intake Valve: The Breathing Organ
The intake valve, also known as the unloader valve, is the “breathing organ” of your compressor. Its job is simple but vital: it opens to allow air into the screw airend when the system needs pressure (Loaded) and closes when the target pressure is reached (Unloaded).
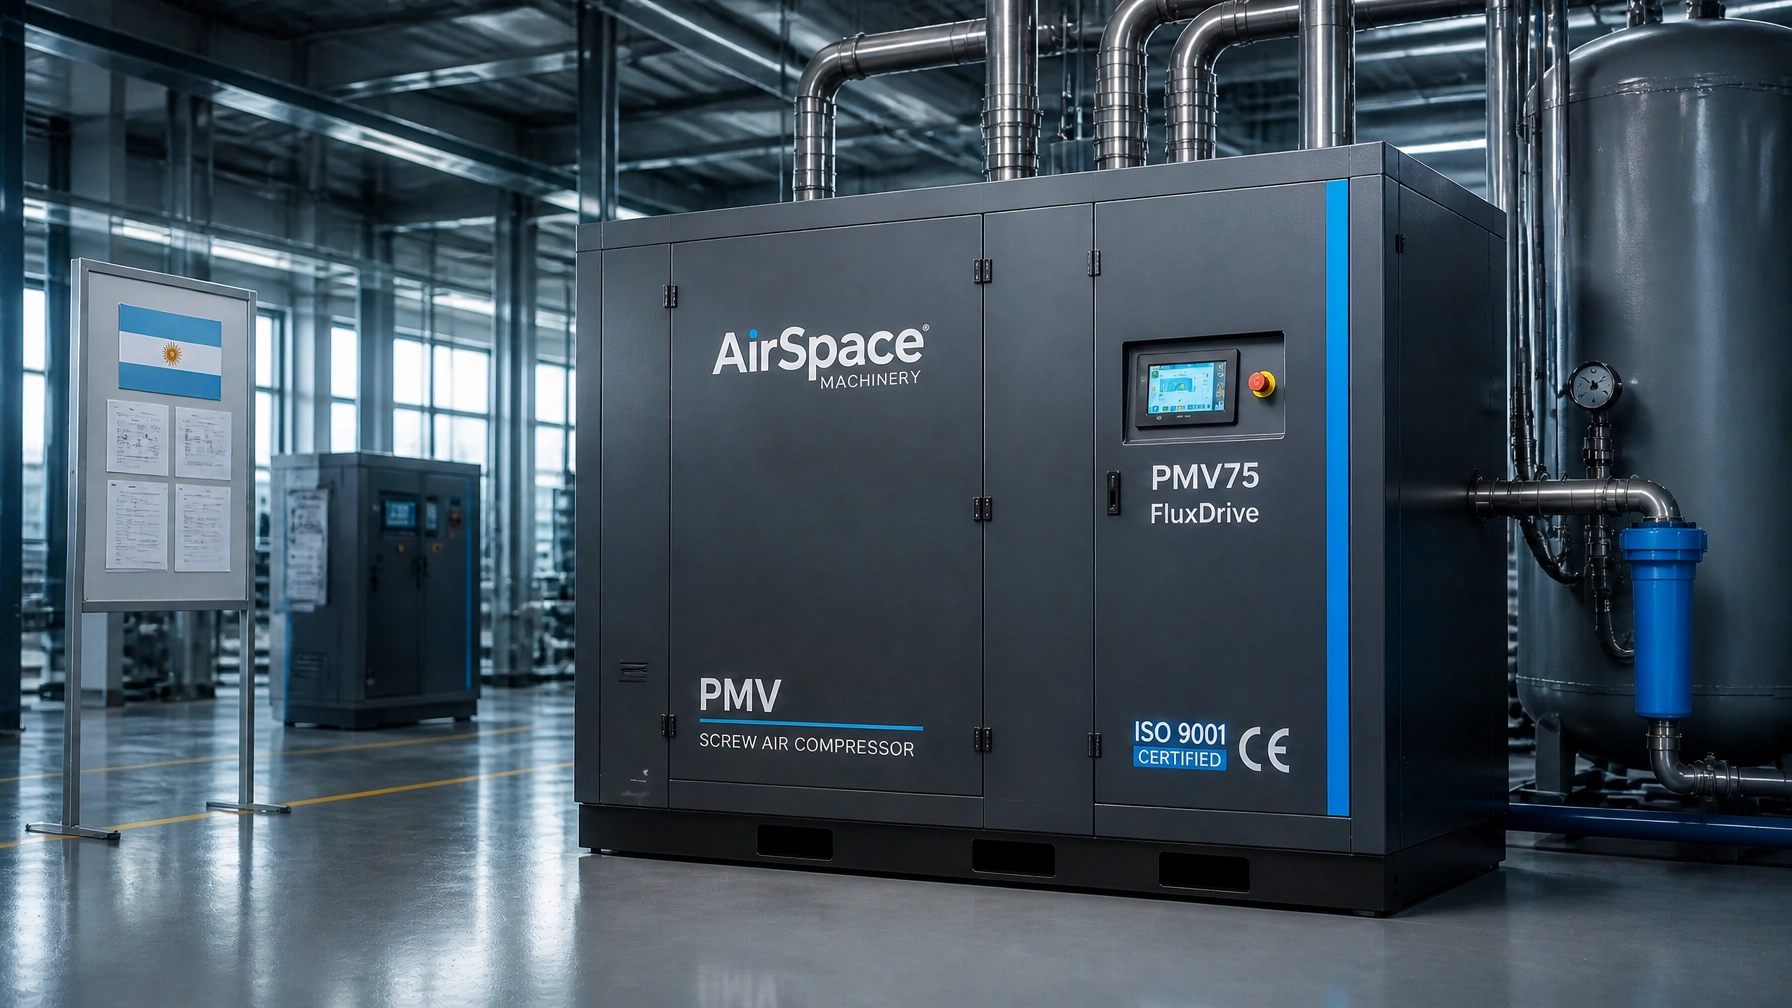
In a high-efficiency AirSpace PMV system, this transition is governed by a precise signal from the controller to a solenoid valve. When the intake valve is functioning correctly, it ensures the unit operates within the 35% Energy Delta: the efficiency gap between modern PMV technology and older, fixed-speed legacy units.
Why It Sticks: Carbon, Varnish, and the Heat Tax
A stuck intake valve is rarely a “random” failure. It is usually a symptom of underlying operational issues.
🟢 Carbon and Varnish Buildup: When compressor oil degrades: often due to high operating temperatures or poor filtration: it leaves behind a sticky residue called varnish. This amber-colored “glue” coats the valve piston and bore, preventing smooth movement.
🟡 Weak Return Spring: Over millions of cycles, the internal return spring loses its tension. If the spring cannot push the valve back to its default position, the valve may stay partially open or closed.
🔴 Failed Solenoid Valve: Sometimes the mechanical valve is fine, but the solenoid (the electrical trigger) has burned out or its internal plunger is blocked.
🔴 Worn Piston Seals: If the O-rings or U-cup seals inside the valve assembly are cracked or hardened, control air leaks past them, leaving the valve with insufficient force to move the piston.

The 3 Primary Symptoms of a Failing Valve
Before reaching for your toolbox, observe the machine’s behavior. Diagnostic accuracy saves hours of wasted labor.
- Constant Unload (No Air Production): The compressor motor is spinning, but the pressure gauge is stuck at zero or very low PSI. This indicates the intake valve is stuck closed.
- Refusal to Unload (Safety Hazard): The compressor reaches its cutout pressure, but the intake valve remains wide open. The pressure continues to climb until the safety relief valve opens. This indicates the valve is stuck open.
- Startup Failure: If the valve is stuck open during startup, the motor must fight against full air resistance immediately. This often leads to a “motor overload” trip or high-current alarm.
Step-by-Step Fix: The Technician’s Diagnostic Guide
Follow these steps to restore your intake valve to factory performance.
Step 1: Safety and Isolation
🔴 WARNING: Never attempt to service a pressurized compressor.
- Perform Lock-Out Tag-Out (LOTO) on the main power supply.
- Close the discharge valve to the air tank.
- Open the manual drain valve to ensure the internal sump pressure is 0.0 bar.
- Allow the machine to cool for at least 30 minutes.
Step 2: Remove the Intake Valve Assembly
- Disconnect the control air lines (usually small plastic or copper tubes) and the electrical connector to the solenoid.
- Loosen the mounting bolts securing the valve housing to the airend.
- Carefully lift the assembly. Be mindful of the gasket; it may be stuck and require gentle prying.
Step 3: Visual Inspection and Disassembly
- Move the piston by hand. It should slide smoothly with firm spring resistance.
- If it feels “gritty” or “sticky,” you have found the problem.
- Disassemble the internal components. Use caution: the return spring is under tension.
Step 4: Deep Cleaning
- Soak the metal components in a non-abrasive solvent or kerosene.
- Use a lint-free cloth to wipe away amber varnish and black carbon deposits.
- DO NOT use sandpaper or aggressive scrapers on the piston or bore, as this will destroy the precision seal surfaces.

Step 5: Component Testing
- Test the solenoid: Apply the rated voltage to the solenoid coil and listen for a distinct “click.” If silent, replace the coil.
- Inspect the spring: Compare its length to the manufacturer’s specification. If it is compressed or warped, replace it.
Step 6: Reassembly and Seal Replacement
- Always install new O-rings and gaskets during reassembly. Reusing old, flattened seals is the most common cause of “re-failure.”
- Apply a thin film of fresh compressor oil to the seals to prevent “dry-start” friction.
Step 7: Reinstall and Functional Test
- Bolt the assembly back onto the airend and reconnect the control lines.
- Power the unit and monitor the load/unload cycle.
- The unit should transition between states within 1-2 seconds of the command.
The Preventative Maintenance Loop
To avoid the “Heat Tax” and the “Unload Tax,” you must look at the bigger picture. A stuck valve is often a cry for help regarding your oil management.
🟢 High-Quality Lubricants: Use high-thermal-stability oils that resist oxidation. This prevents the formation of the varnish that sticks valves.
🟢 Scheduled Oil Changes: Do not exceed the recommended 4,000 or 8,000-hour intervals. Old oil loses its detergent properties.
🟢 Prevent Short-Cycling: If your compressor loads and unloads every 30 seconds, the intake valve will wear out 10x faster. Consider a PMV system or a larger receiver tank to smooth out the demand.
Pro Tip: The Varnish-Efficiency Connection
If your intake valve keeps sticking even after cleaning, check your operating temperature. Operating a compressor consistently above 95 degrees Celsius (203 F) accelerates oil degradation by 50% for every 10-degree increase. This “Heat Tax” not only kills your valves but also destroys your 35% Energy Delta advantage.
At AirSpace Machinery, our PMV systems are engineered with oversized cooling and advanced oil management to maintain ISO 8573-1 Class 0 Integrity where required. We focus on the “Fourth Utility” concept: treating compressed air with the same reliability and precision as electricity or water.

Summary and Decision Guidance
Fixing a stuck intake valve is a standard maintenance task that can prevent catastrophic motor failure and massive energy waste. By following a strict diagnostic path: identifying symptoms, cleaning varnish, and replacing wear parts: you ensure your facility maintains 99.9% uptime.
Ready to upgrade to a system that manages these variables for you? If your legacy machine is bleeding money through sticky valves and inefficient cycles, it is time for a modern solution.
Get a Proposal for an AirSpace PMV System Today.
Author: Penny Winston
Penny Winston is a Technical Writer specializing in The 35% Energy Delta and The Fourth Utility Concept. She is a leading voice in advocating for ISO 8573-1 Class 0 Integrity and helping industrial facilities eliminate hidden “Industrial Taxes” through better engineering.
Reviewed by Engineering
This guide has been reviewed for technical accuracy by the AirSpace Field Engineering Department.
Internal Knowledge Web:
- Learn about air purity in our 2026 Guide to Contamination-Sensitive Air.
- Discover how Double-Stage Systems maximize efficiency.
- See how a Vietnam Auto Parts Maker slashed energy use by 42%.
📅 Last updated:
⚡ Is Your Factory Bleeding Cash?
Most fixed-speed compressors waste $3,600/year in "Unload Tax." Test your waste level in 30 seconds.
RUN THE ROI TEST →Ready to See How Much Your Facility Can Save?
Fill out the form below for a Free Energy Assessment.